White SPots
Many people have white spots on their teeth, which can sometimes be distracting for esthetics. These spots can have various causes, such as a past trauma, excessive fluoride, an issue during enamel development, or early-stage caries.
White spots often form due to tiny air bubbles within the enamel. These bubbles make the enamel porous, which creates the white appearance of the spots. Fortunately, these white spots can be treated using the infiltration technique (ICON), which removes them without the need for drilling.
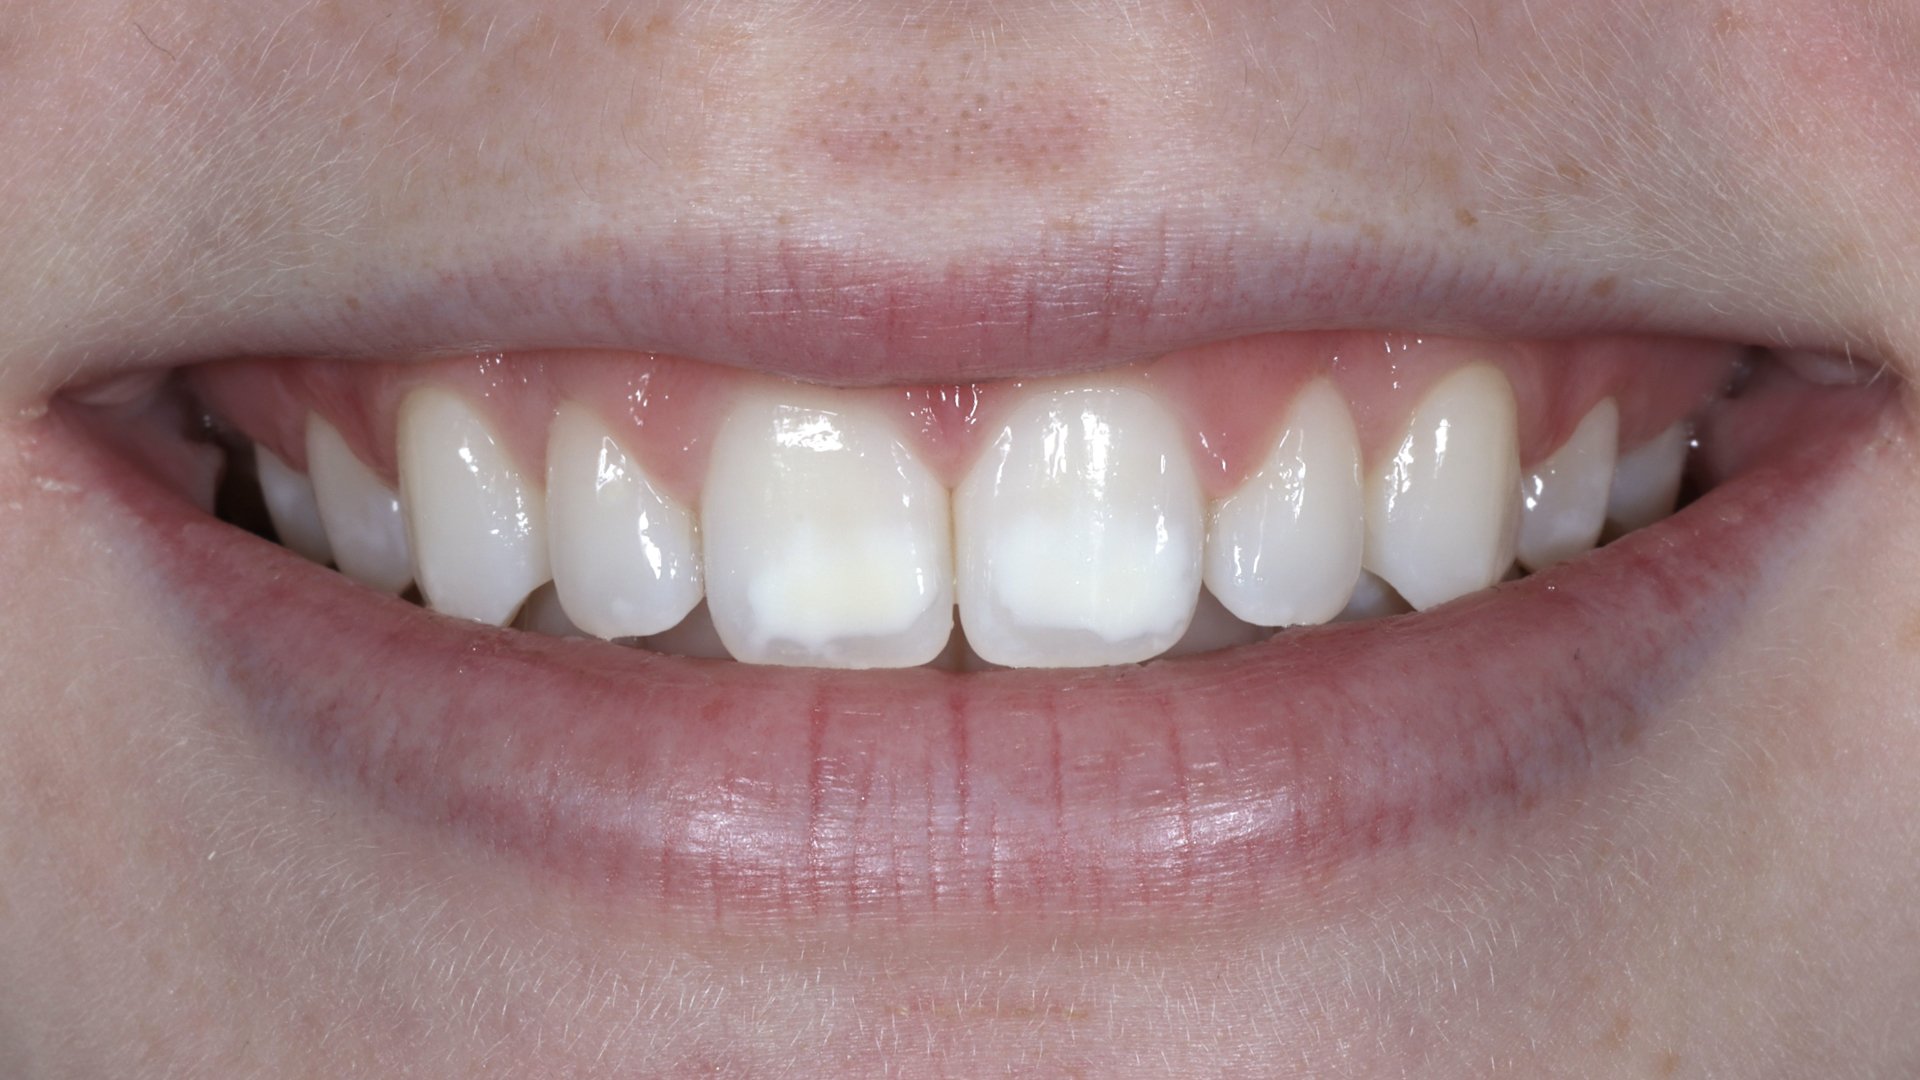
Smile photo
This smile photo was taken during the intake and is an essential photo for our treatment plan.
Close-up photo
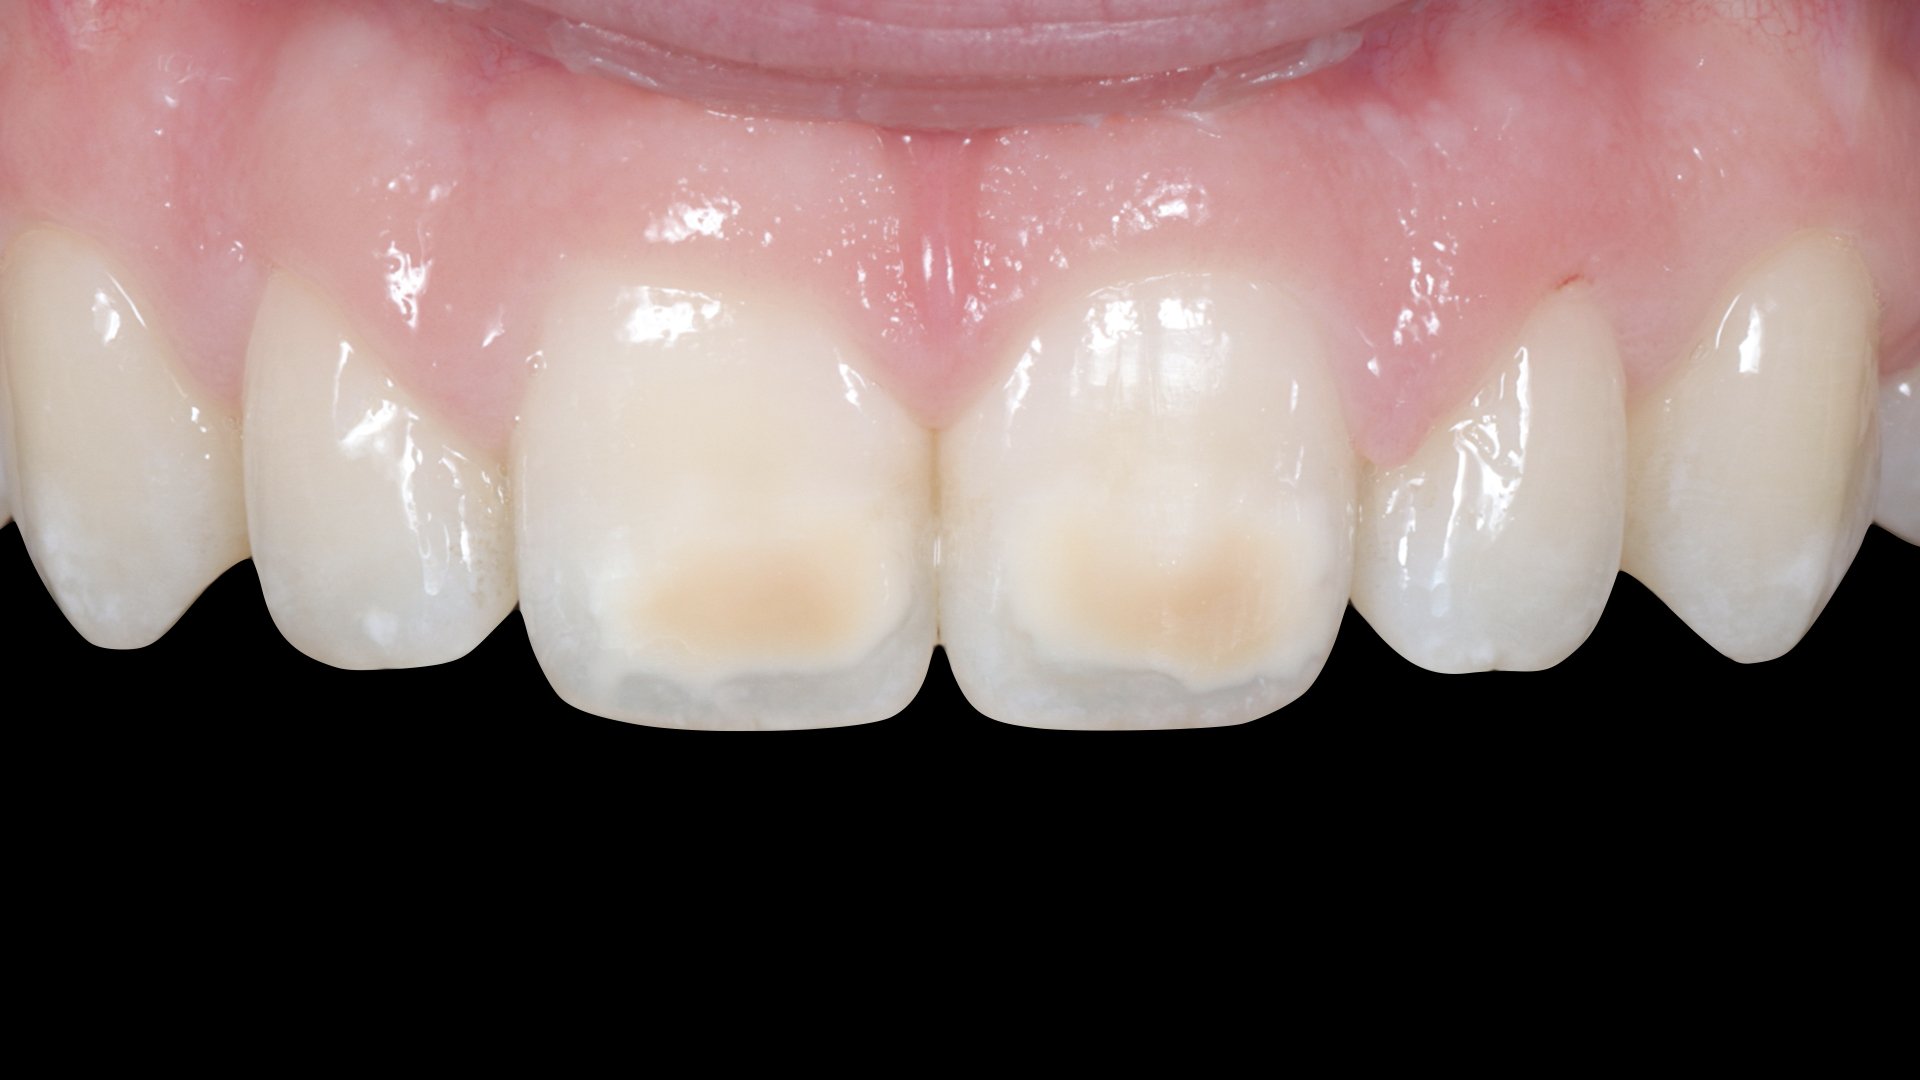
A close-up shot of the teeth show a white / yellow spot on both central incisors. The cause of these spots is MIH (Molar - Incisor Hypomineralization).
The yellow spot can only be removed BEFORE the ICON treatment with home whitening with carbamide peroxide for 7-14 days.
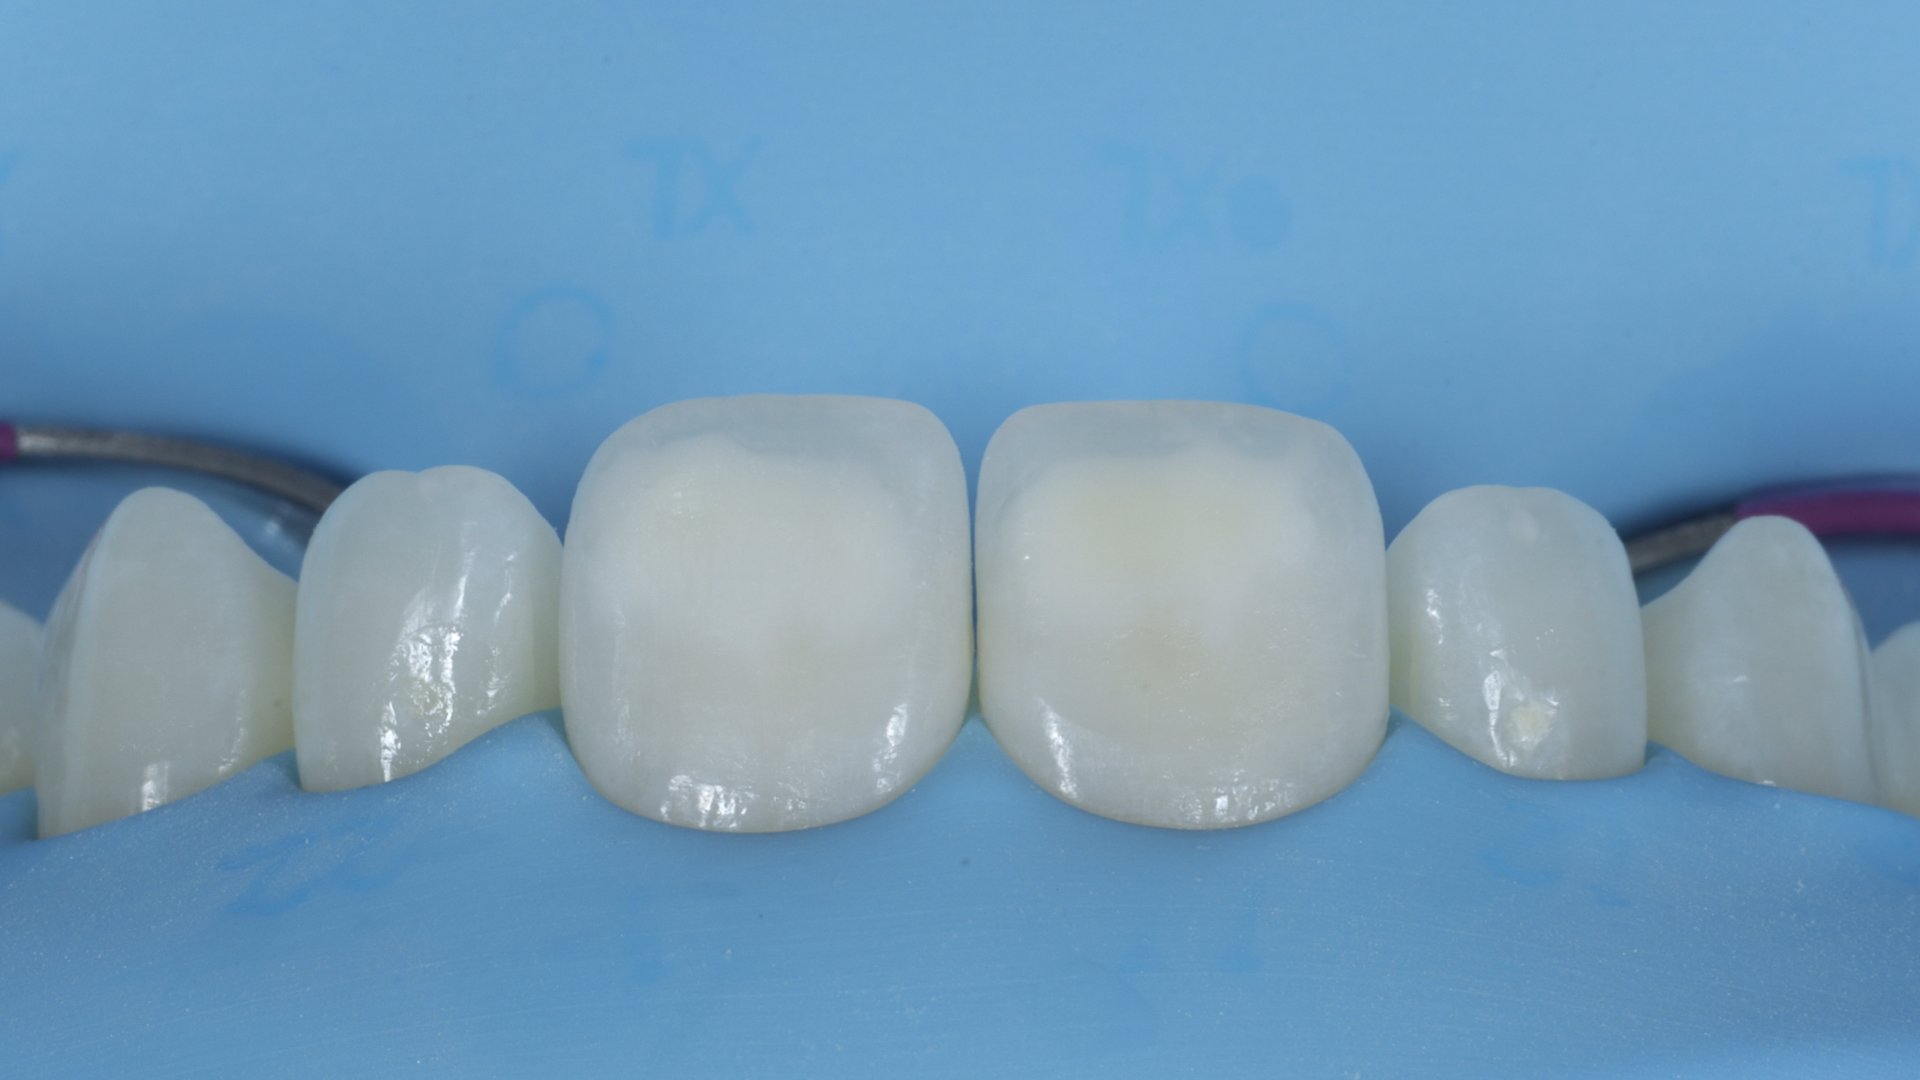
Cross-Polarized photo
With a cross polarization filter the reflection of the flash of the camera can be removed. This photo gives us a better indication of the white spot.
Evaluation of home whitening
After 14 days the yellow discoloration is completely gone. Now it’s possible to treat the white spots with the infiltration protocol.
Close-up after home whitening
Yellow or brown spots can not be removed with ICON, so it’s absolutely necessary to do a home whitening with carbamide peroxide of the teeth to remove any yellow or brown stains BEFORE the treatment.
Rubberdam isolation
In order to get the best possible bonding to the tooth and to make sure we have a really clean operator field I use rubberdam isolation in all restorative cases.
Cleaning the teeth with the Aquacare
Before we start the ICON treatment all teeth will be thoroughly cleaned with the Aquacare, an air abrasion unit. This allows for the best possible penetration of the ICON ETCH.
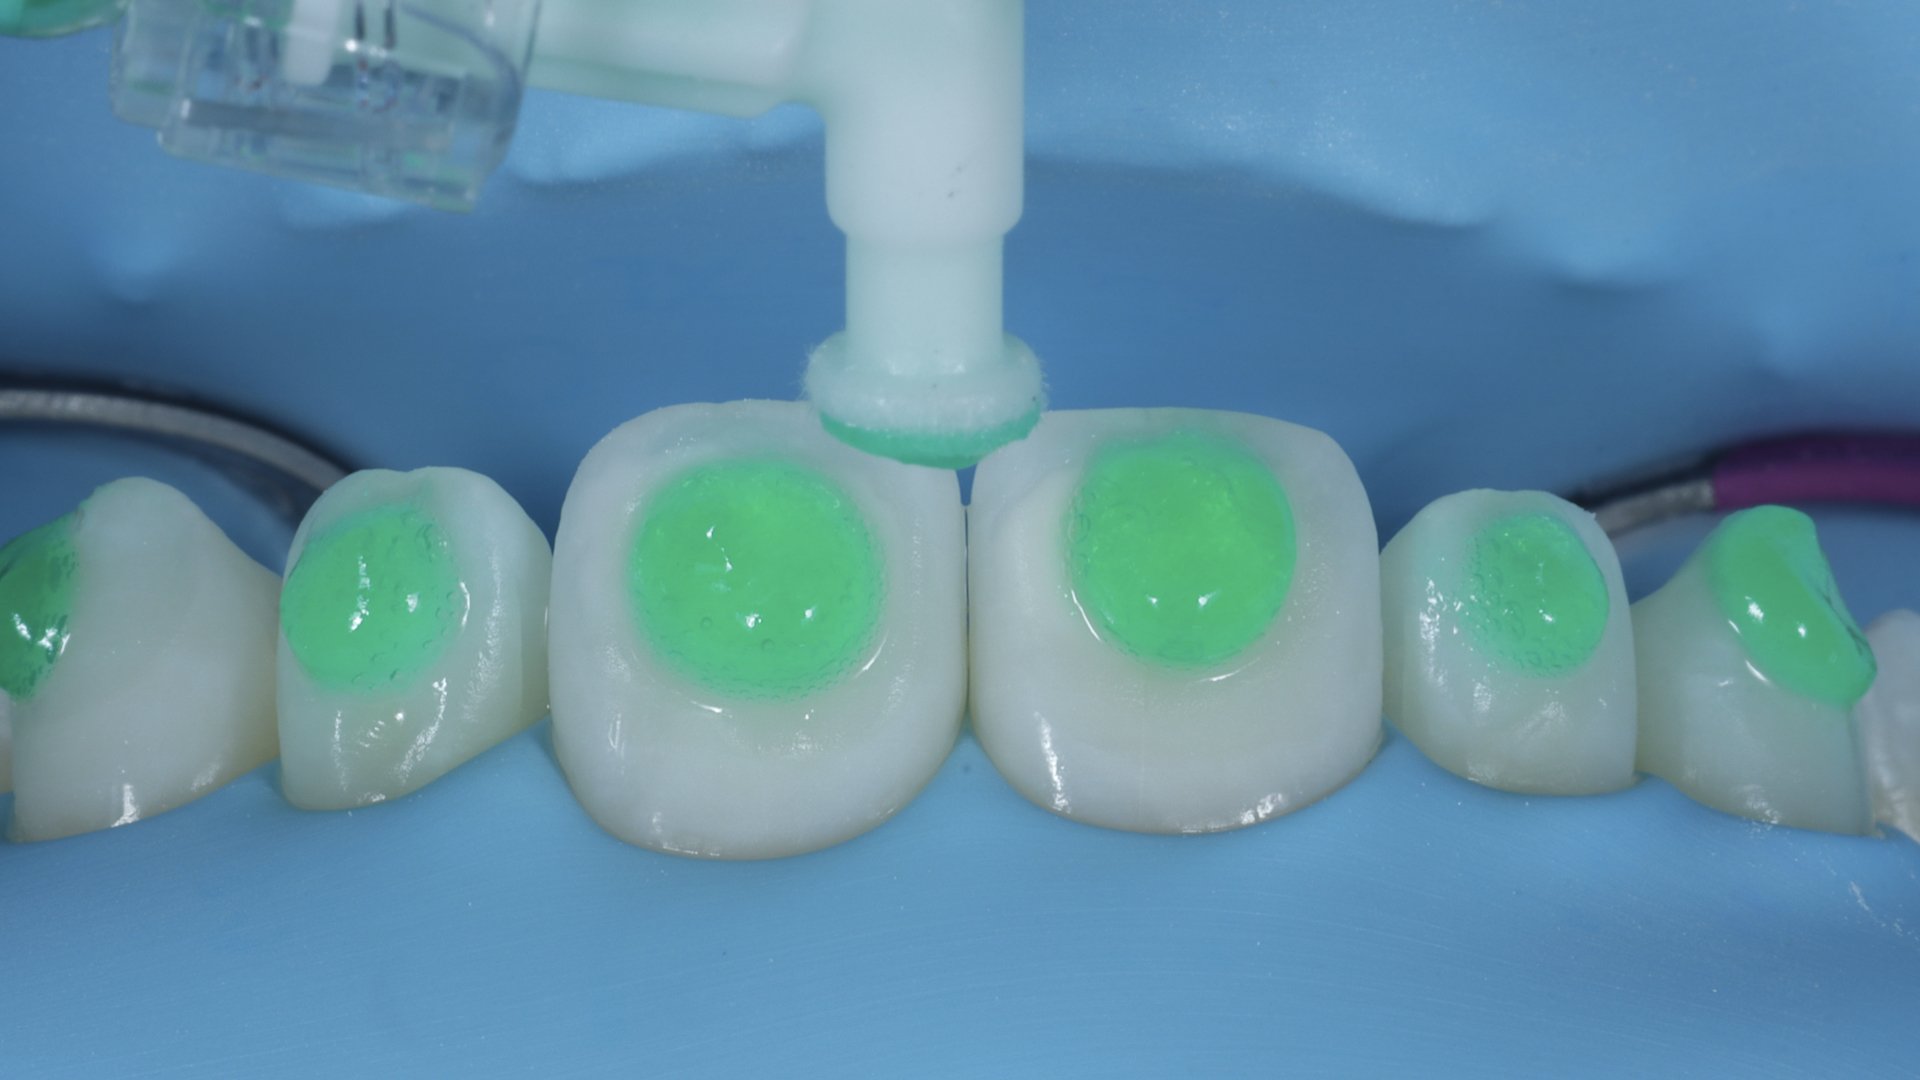
Etching the teeth
The enamel of the white spots is etched with a special etch in order to be able to penetrate the white-spot fully with the infiltrant in a later stage.
Evaluation of the etching effect
After thoroughly rising after etching, a special liquid (Icon dry) is applied on the teeth to check whether we are able to fully penetrate the white spot. The white spot should almost disappear. If the white spot is still visible we need to repeat the etching step a few times.
Ready for infiltration
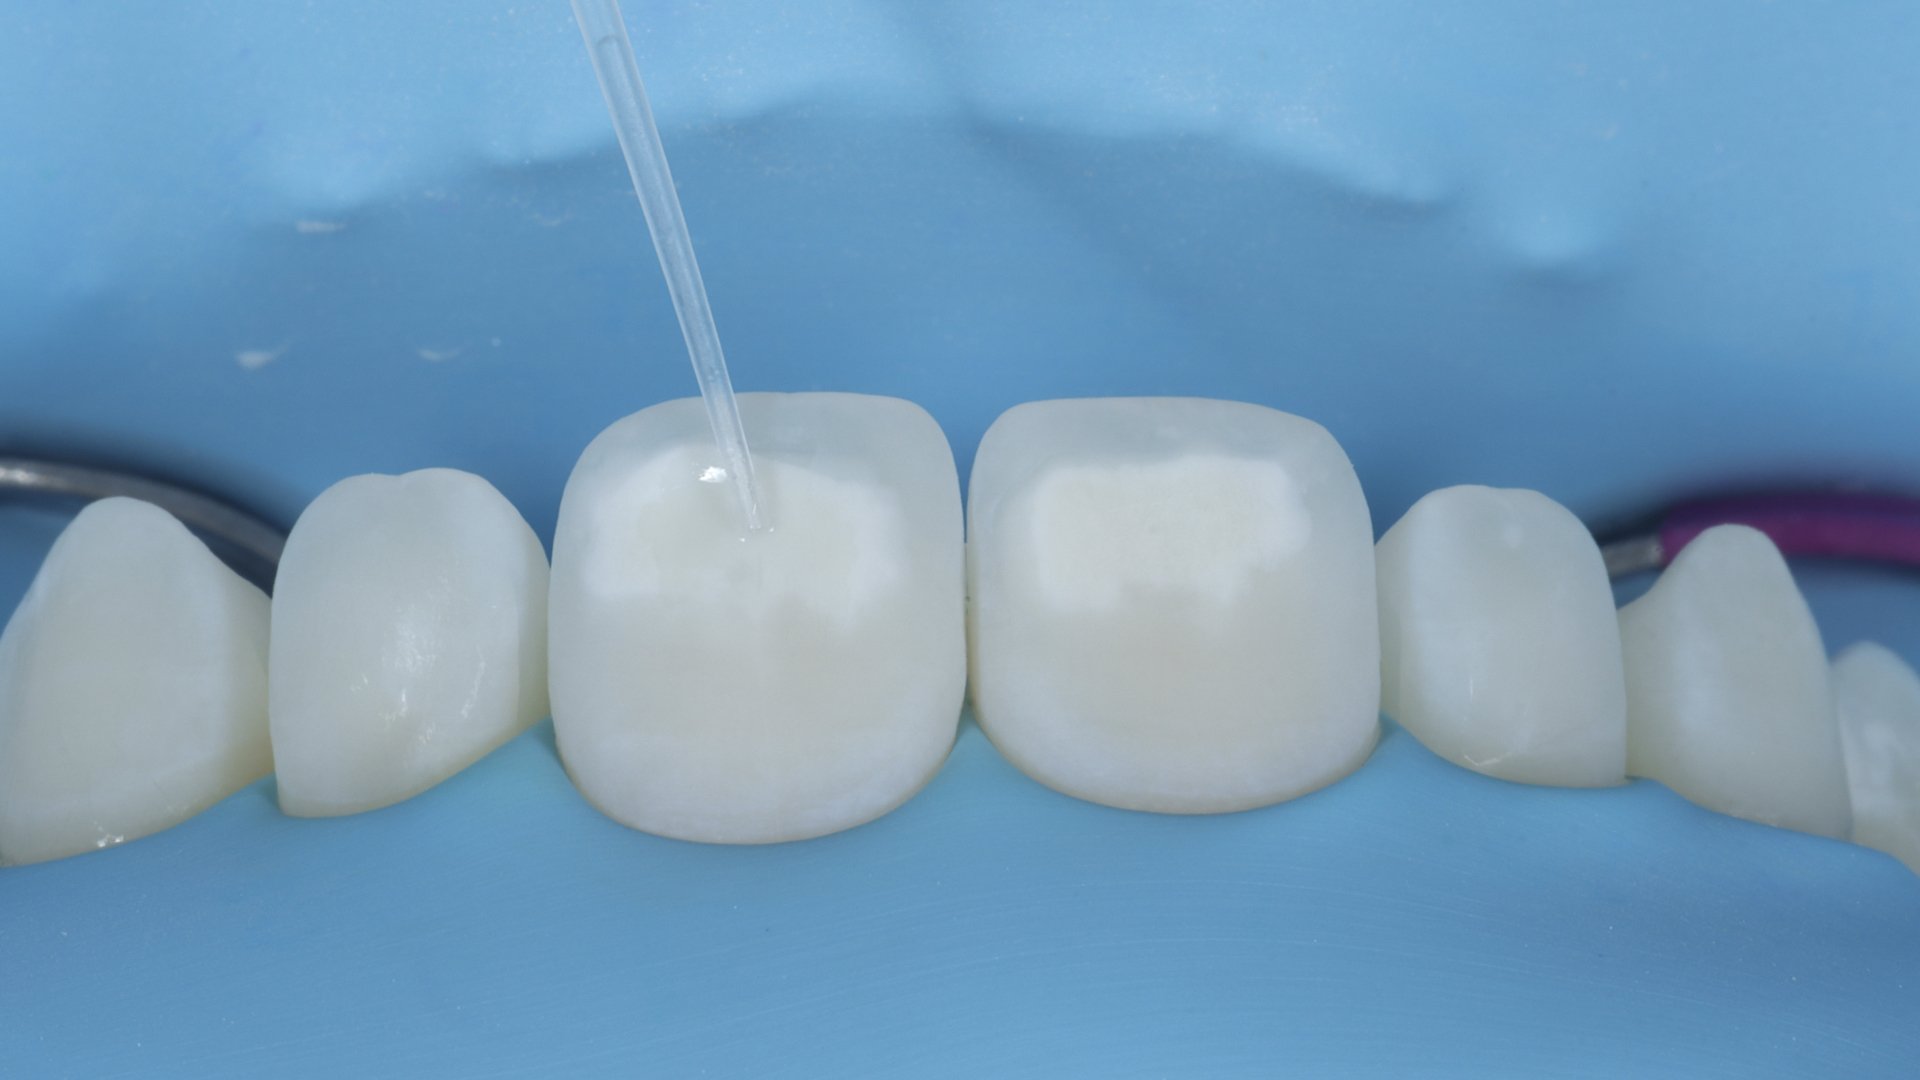
After multiple cycles of etching and drying the white spots are ready to infiltrate. We place the infiltrant on the tooth and let it penetrate the white spot for 5 - 20 minutes (depending on the case).
Infiltration completed
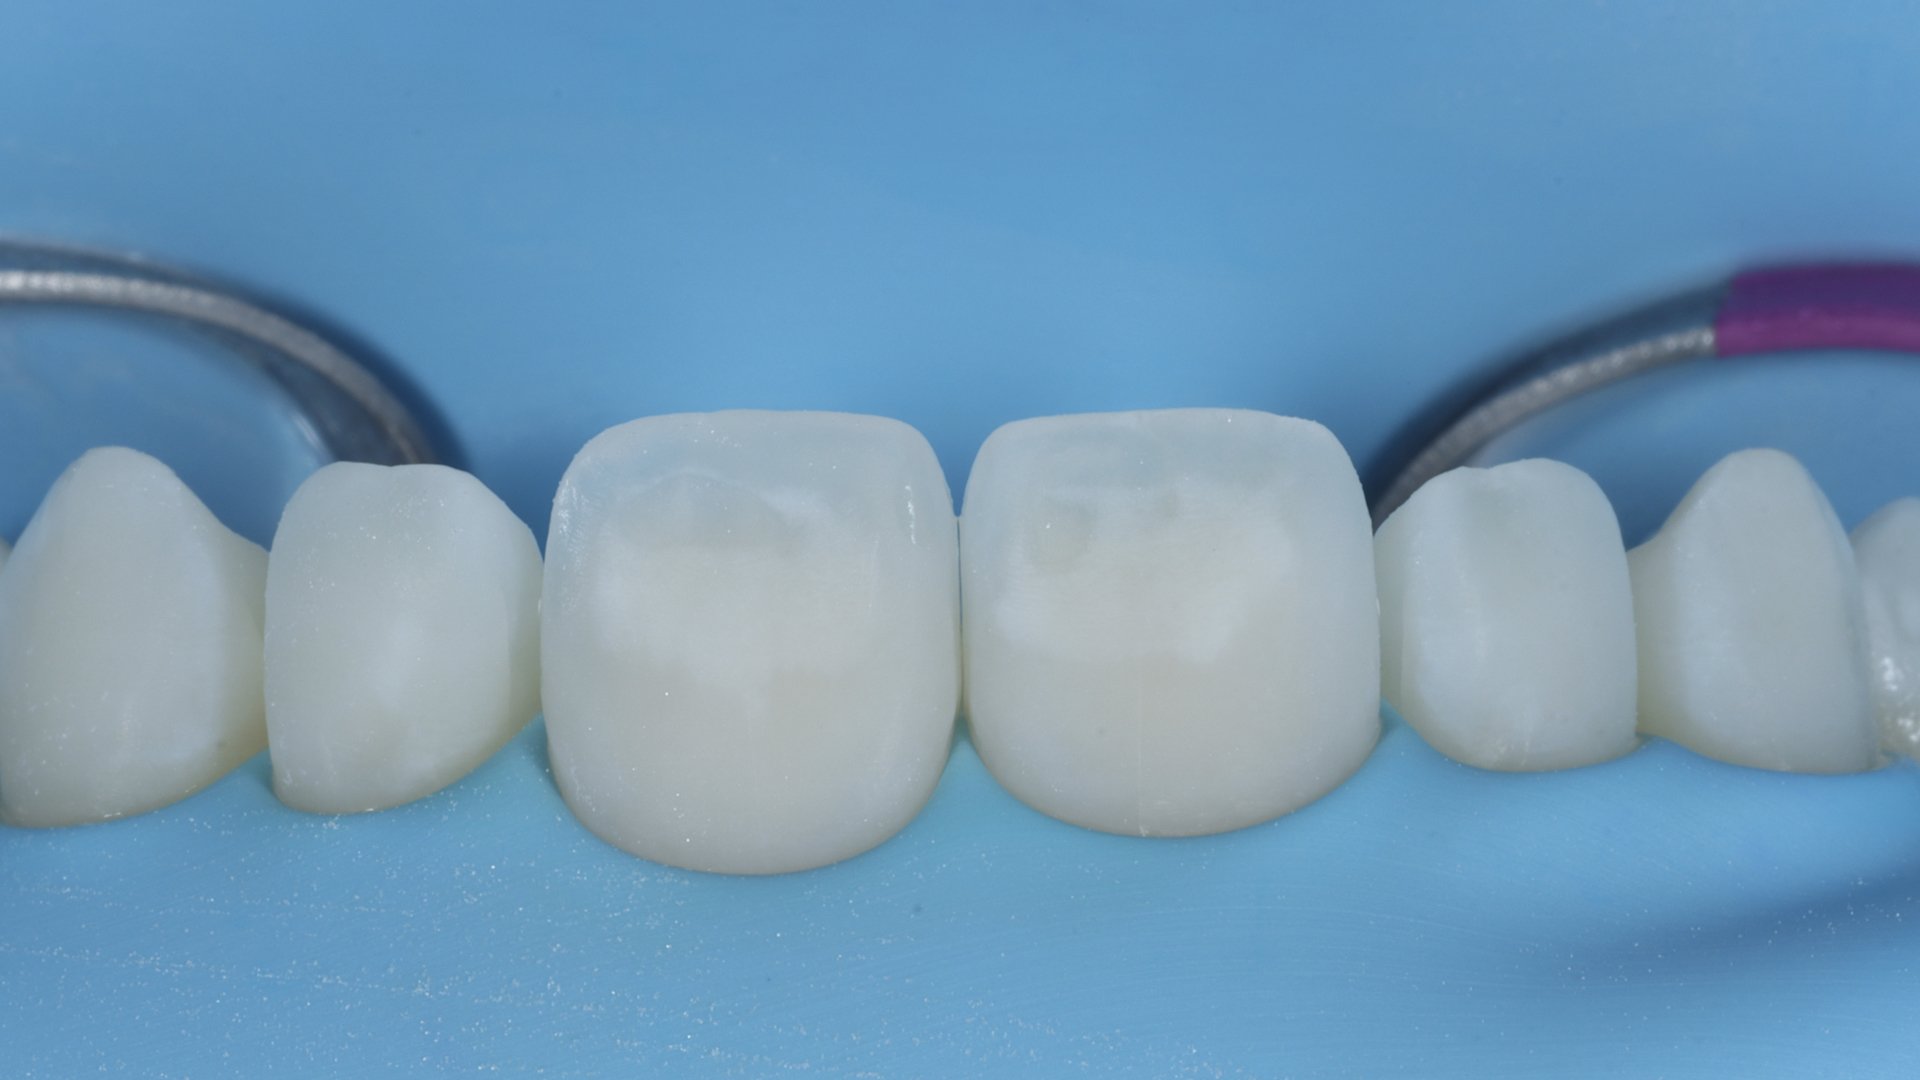
After the infiltration is completed the white spots are no longer visible. We often also have a quantitive enamel defect, which means there is a dent in the enamel. This is often exacerbated by the etching cycles.
Composite recontouring
In order to remove the dent in the enamel we place a thing layer of composite on the tooth to create a smooth surface.
Evaluation after two weeks
After two weeks a 20 minute evaluation appointment is scheduled. During this appointment the final result will be evaluated and we will take the same photographs as we did during the intake. During this appointment we can also polish or correct small things if needed.
Close-up photo of the end result
The white spots are completely gone and no longer visible.
Make it stand out
We take a cross-polarized photo again to double check the end result.
Please note: the results of this treatment may vary from patient to patient. Your own treatment may differ from what’s prescribed here. During the intake we will discuss different treatment options and discuss what’s best for you and what you can expect.

